 ← Back
A VPS is great for running production services, but for learning, testing, and breaking things on purpose, nothing beats a home lab. I run my production blog on a Hetzner VPS, but my Proxmox home lab is where I test Docker configs, spin up vulnerable machines for CTF practice, and experiment with networking — all without risking anything that matters.
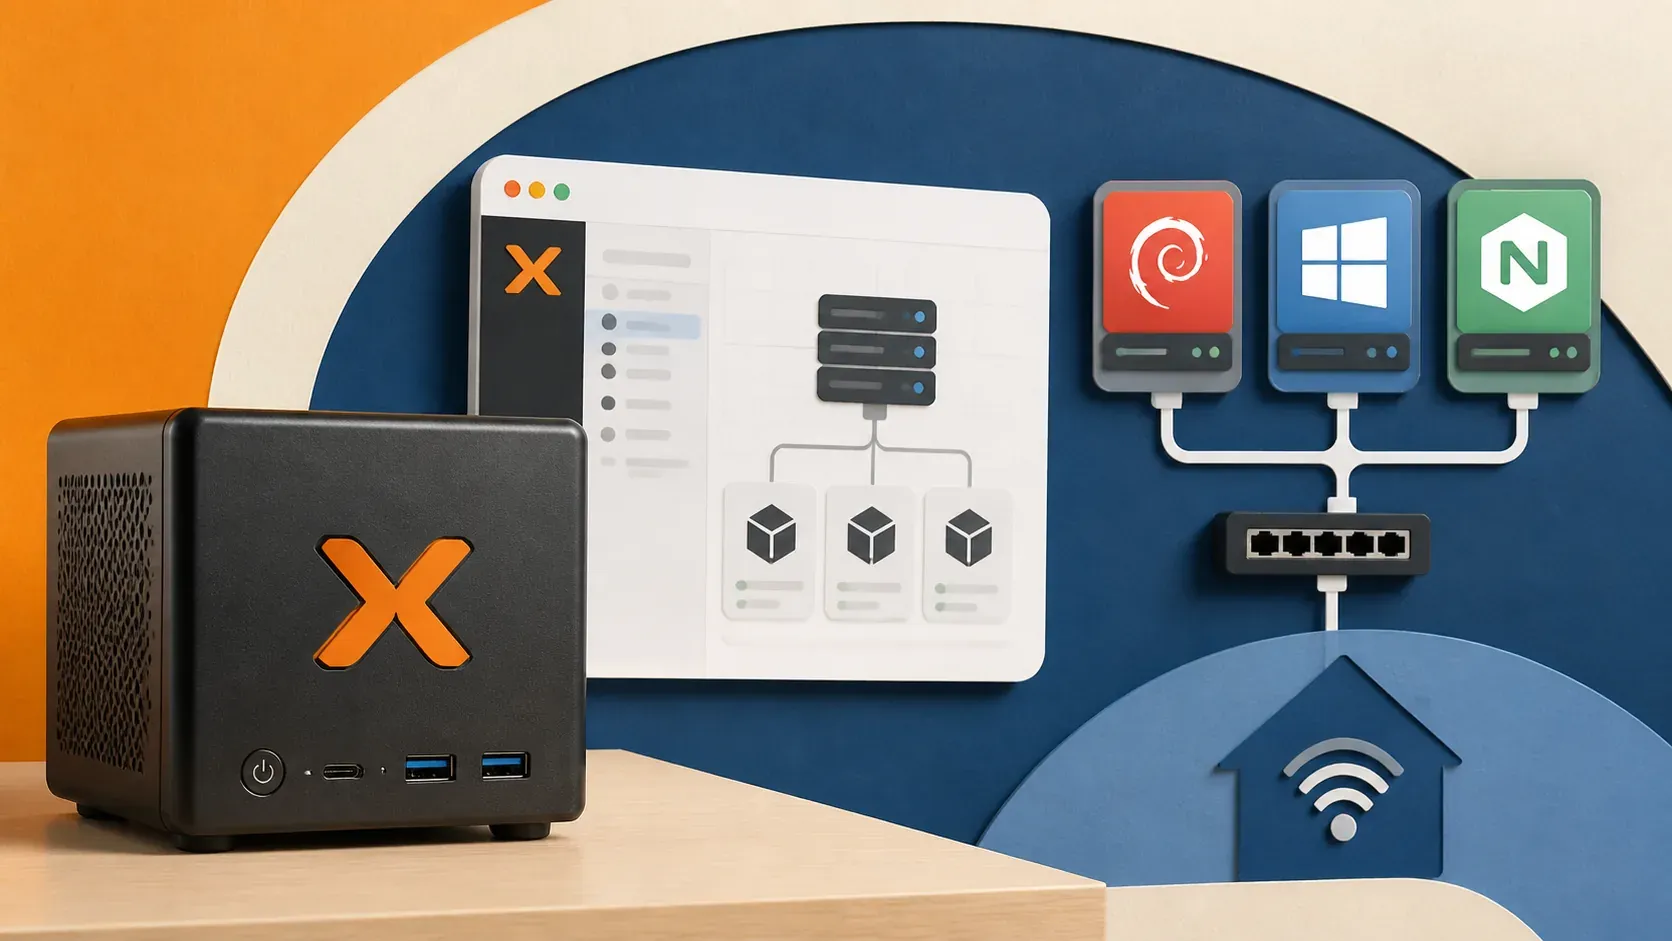
Proxmox VE (Virtual Environment) is a free, open-source hypervisor built on Debian that supports both full virtual machines (KVM) and lightweight containers (LXC). It has a web-based management interface, built-in backup tools, and clustering support. If you want a proxmox home lab setup that grows with your skills, this guide gets you from bare hardware to running VMs and containers.
Prerequisites
- Hardware: A dedicated machine with at least 8GB RAM, a 64-bit CPU with virtualization support (Intel VT-x or AMD-V), and 120GB+ storage. An old desktop, a mini PC (like an Intel NUC or Beelink), or a used Dell Optiplex all work well.
- A USB drive (2GB+) for the Proxmox installer
- Network access (Ethernet recommended — WiFi is possible but painful)
- A separate computer to access the Proxmox web interface
- Basic Linux familiarity — if you need a refresher, my VPS hardening guide covers core Linux admin concepts
Note: Proxmox is a bare-metal hypervisor. It replaces whatever OS is currently on the machine. Don't install it on your daily-use computer. Dedicate hardware to it.
What Is Proxmox VE and Why Use It
Proxmox VE is a Type 1 hypervisor — it runs directly on hardware, not inside another operating system. This gives it better performance than Type 2 hypervisors like VirtualBox or VMware Workstation that run on top of Windows or Linux.
Here's what makes Proxmox the best choice for a home lab:
- Free and open source. The enterprise subscription is optional — it unlocks the stable update repository and support, but the free "no-subscription" repository works fine for home use.
- Full VMs (KVM) and containers (LXC) on the same platform. Use VMs when you need full OS isolation, containers when you want lightweight services.
- Web-based management. Everything is done through a browser. No GUI installed on the host.
- Snapshots and backups built in. Break something? Roll back in seconds.
- Clustering. Start with one node, add more later. Proxmox scales from a single NUC to a rack of servers.
The trade-off: Proxmox's learning curve is steeper than spinning up a VM in VirtualBox. You're managing a real hypervisor with networking, storage pools, and resource allocation. That's also exactly why it's worth learning — these are production skills.
Hardware Recommendations for a Proxmox Home Lab
You don't need expensive hardware. Here's what I recommend at three budget levels:
Budget ($50-100 — used hardware): - Dell Optiplex 7050 or HP EliteDesk 800 G3 (used on eBay) - 16GB DDR4 RAM (upgrade from stock) - 256GB SSD - Runs 3-5 lightweight VMs or 10+ containers comfortably
Mid-range ($200-400 — mini PC): - Beelink SER5 or Intel NUC 12/13 - 32GB DDR4/DDR5 RAM - 500GB NVMe SSD - Runs 8-10 VMs or 20+ containers, enough for a serious lab
Performance ($500+ — enterprise surplus): - Dell PowerEdge T340/R640 or HP DL360 - 64GB+ ECC RAM - Multiple SSDs in ZFS mirror - Enterprise networking (IPMI/iDRAC for remote management)
My advice: Start cheap. A $75 used Optiplex with a RAM upgrade teaches you everything. Upgrade when you hit limits, not before.
Installing Proxmox VE
Step 1: Download the ISO
Grab the latest Proxmox VE ISO from the official site:
https://www.proxmox.com/en/downloads/proxmox-virtual-environment/iso
Download the .iso file (about 1.2GB).
Step 2: Create a Bootable USB
On Linux:
# Find your USB drive (be CAREFUL — wrong device = data loss)
lsblk

# Write the ISO (replace sdX with your USB device)
sudo dd bs=4M if=proxmox-ve_8.x-x.iso of=/dev/sdX conv=fsync status=progress
On Windows, use Rufus or Etcher. Select "DD mode" if Rufus asks — ISO mode won't boot correctly for Proxmox.
Warning: Theddcommand will destroy all data on the target device. Triple-check the device name withlsblkbefore running it. If your main drive is/dev/sda, your USB is probably/dev/sdb— but verify.
Step 3: Boot and Install
- Plug the USB into your Proxmox machine and boot from it (F2/F12/Del for BIOS/boot menu, varies by manufacturer).
- Select Install Proxmox VE (Graphical).
- Accept the EULA.
- Select the target disk. Proxmox will format this entire disk. If you have multiple drives, pick the one you want as the boot/system drive. For the filesystem, choose ext4 for simplicity or ZFS if you have multiple drives and want redundancy.
- Set your country, timezone, and keyboard layout.
- Set a strong root password and enter an email address (used for alerts).
- Configure networking: - Management Interface: Select your Ethernet adapter - Hostname: Something like
pve.homelab.local- IP Address: Assign a static IP on your LAN (e.g.,192.168.1.50/24) - Gateway: Your router's IP (usually192.168.1.1) - DNS Server: Your router or1.1.1.1 - Review the summary and click Install.
Installation takes 3-5 minutes. When done, remove the USB and reboot.
Step 4: Access the Web Interface
From another computer on the same network, open a browser and go to:
https://192.168.1.50:8006
Replace with the IP you set during installation. You'll get a certificate warning — that's expected (Proxmox uses a self-signed cert). Accept it and log in with:
- Username:
root - Realm:
Linux PAM standard authentication - Password: The password you set during install
You're in. The Proxmox dashboard shows your node's CPU, RAM, storage, and network usage.
Post-Install Configuration
Disable the Enterprise Repository (Free Users)
By default, Proxmox is configured to use the enterprise repository, which requires a paid subscription. Without it, you'll get errors on apt update. Fix this:
# SSH into your Proxmox host
ssh [email protected]

# Disable the enterprise repo
sed -i 's/^deb/#deb/' /etc/apt/sources.list.d/pve-enterprise.list

# Add the free no-subscription repo
echo "deb http://download.proxmox.com/debian/pve bookworm pve-no-subscription" > /etc/apt/sources.list.d/pve-no-subscription.list

# Update and upgrade
apt update && apt full-upgrade -y
Remove the Subscription Nag (Optional)
Every time you log into the web UI, a popup reminds you that you don't have a subscription. It's harmless but annoying. To remove it:
sed -Ezi.bak "s/(Ext\.Msg\.show\(\{\s+title: gettext\('No valid sub)/void\(\{ \/\/\1/g" /usr/share/javascript/proxmox-widget-toolkit/proxmoxlib.js
systemctl restart pveproxy.service
Note: This change gets overwritten on Proxmox updates. You'll need to reapply it after upgrades. If you use Proxmox professionally, consider buying a subscription — it supports the project.
Enable IOMMU (For GPU/PCI Passthrough)
If you plan to pass physical hardware (like a GPU) into a VM, enable IOMMU now:
# For Intel CPUs, edit GRUB
nano_is_not_allowed  # edit with vim instead
vim /etc/default/grub
Change the GRUB_CMDLINE_LINUX_DEFAULT line:
For Intel CPUs:
GRUB_CMDLINE_LINUX_DEFAULT="quiet intel_iommu=on"
For AMD CPUs:
GRUB_CMDLINE_LINUX_DEFAULT="quiet amd_iommu=on"
Then update GRUB and reboot:
update-grub
reboot
Creating Your First Virtual Machine
Let's create an Ubuntu Server VM — the most common starting point.
Step 1: Upload an ISO
- In the Proxmox web UI, click your node in the left sidebar.
- Click local (pve) storage → ISO Images → Upload.
- Upload the Ubuntu Server 24.04 LTS ISO (download from ubuntu.com if you don't have it).
Alternatively, download directly on the Proxmox host:
cd /var/lib/vz/template/iso/
wget https://releases.ubuntu.com/24.04/ubuntu-24.04-live-server-amd64.iso
Step 2: Create the VM
- Click Create VM (top right of the web UI).
- General: Give it a name (e.g.,
ubuntu-server) and a VM ID. - OS: Select the ISO you uploaded. Guest OS type: Linux, version: 6.x - 2.6 Kernel.
- System: Leave defaults. Check Qemu Agent if you plan to install it (recommended).
- Disks: Set disk size (32GB minimum for Ubuntu, I usually do 50GB). Use VirtIO Block for best performance. Enable Discard if using SSD storage.
- CPU: Allocate cores (2 is fine for testing, 4 for heavier workloads). Set type to host for best performance.
- Memory: Allocate RAM in MiB (2048 = 2GB minimum, 4096 = 4GB recommended).
- Network: Leave default bridge (
vmbr0), model VirtIO (paravirtualized). - Confirm and check Start after created.
Step 3: Install the OS
Click on your new VM → Console. You'll see the Ubuntu installer. Go through the standard installation — select language, configure networking (DHCP is fine for now), create a user, install OpenSSH server when prompted.
Once installed, you can SSH into the VM from your main computer:
ssh your-user@<VM_IP_ADDRESS>
Tip: Install the QEMU guest agent inside the VM for better integration (graceful shutdown, IP reporting, etc.):bash sudo apt install qemu-guest-agent -y sudo systemctl enable qemu-guest-agent --now
Creating LXC Containers — Lightweight Alternative to VMs
LXC containers share the host kernel, which makes them use far less RAM and CPU than full VMs. They start in seconds instead of minutes. For services like web servers, databases, DNS, or monitoring tools, containers are the better choice.
Download a Container Template
- Click local (pve) storage → CT Templates → Templates.
- Search for "ubuntu" or "debian" and download the template you want.
Or via CLI:
pveam update
pveam available --section system | grep ubuntu
pveam download local ubuntu-24.04-standard_24.04-2_amd64.tar.zst
Create the Container
- Click Create CT (top right).
- General: Set hostname (e.g.,
docker-host), set a root password. - Template: Select the template you downloaded.
- Disks: 8-20GB depending on use case.
- CPU: 1-2 cores.
- Memory: 512MB-2048MB depending on what you're running.
- Network: Bridge
vmbr0, DHCP or static IP. - DNS: Use host settings or set custom.
- Confirm and start.
The container boots in under 5 seconds. Access it via the console or SSH.
Running Docker Inside LXC
This is a common home lab pattern — run Docker inside an LXC container to keep things isolated without the overhead of a full VM. I use this setup for many of my services.
You need to enable nesting and a few features on the container. In the Proxmox web UI: select the container → Options → Features → enable Nesting and keyctl.
Or edit the container config directly:
# On the Proxmox host
vim /etc/pve/lxc/<CT_ID>.conf
Add or modify:
features: nesting=1,keyctl=1
Then inside the container, install Docker:
apt update && apt install -y curl
curl -fsSL https://get.docker.com | sh
Docker inside LXC works well for most use cases. For more on securing your Docker setup, see my Docker security best practices.
Networking in Proxmox
Default Bridge (vmbr0)
Out of the box, Proxmox creates a Linux bridge called vmbr0 that connects to your physical NIC. All VMs and containers attached to this bridge get IPs on your LAN — they're visible to other devices on your network.
This is the simplest setup and works for most home labs.
Creating an Internal Network
For isolated lab environments (like a pentesting lab), create a bridge without a physical interface:
- Go to your Node → Network → Create → Linux Bridge.
- Name it
vmbr1. - Leave Bridge ports empty (no physical NIC).
- Assign a subnet:
10.10.10.1/24as the bridge IP.
VMs connected to vmbr1 can talk to each other but not to your LAN or the internet — perfect for vulnerable machine labs.
To give them internet access through the Proxmox host (NAT), run on the host:
# Enable IP forwarding
echo 'net.ipv4.ip_forward=1' >> /etc/sysctl.conf
sysctl -p

# Add NAT rule
iptables -t nat -A POSTROUTING -s 10.10.10.0/24 -o vmbr0 -j MASQUERADE
To make the iptables rule persistent:
apt install iptables-persistent -y
netfilter-persistent save
If you've set up WireGuard before (I covered it in my WireGuard VPN guide), the networking concepts here — bridges, NAT, forwarding — are the same principles.
Storage Configuration
Understanding Proxmox Storage Types
Proxmox supports multiple storage backends:
| Storage Type | Best For | Supports Snapshots | Notes |
|---|---|---|---|
| Local (dir) | ISOs, backups, container templates | No | Default, always available |
| LVM | VM disks | No (use LVM-Thin instead) | Created during install |
| LVM-Thin | VM disks, efficient snapshots | Yes | Recommended for VM storage |
| ZFS | Everything, data integrity | Yes | Needs more RAM (1GB per TB of storage) |
| NFS/CIFS | Shared storage, backups | Depends on backend | For NAS integration |
For a single-disk home lab, the default LVM-Thin partition created during installation is fine. If you add a second drive later, I recommend ZFS mirror for redundancy:
# Create a ZFS mirror from two drives
zpool create tank mirror /dev/sdb /dev/sdc

# Add it to Proxmox
pvesm add zfspool tank-pool --pool tank --content images,rootdir
Backups — Don't Skip This
The number one advantage of running a home lab on Proxmox is the ability to snapshot and back up everything. Use it.
Manual Backup
In the web UI: select a VM or container → Backup → Backup now. Choose: - Storage: Where to store the backup (local or NFS) - Mode: Snapshot (no downtime), Suspend, or Stop - Compression: ZSTD (best ratio/speed balance)
Scheduled Backups
- Go to Datacenter → Backup → Add.
- Set the schedule (e.g., daily at 2:00 AM).
- Select which VMs/containers to include.
- Set retention (e.g., keep last 3 backups).
# Check existing backup jobs via CLI
cat /etc/pve/jobs.cfg
Snapshots
Snapshots capture the current state of a VM or container. They're instant and stored on the same disk.
# Create a snapshot
qm snapshot <VMID> pre-update --description "Before apt upgrade"

# Roll back to a snapshot
qm rollback <VMID> pre-update
Use snapshots before risky changes — kernel upgrades, config rewrites, experimental software installs. If something breaks, roll back in seconds.
Warning: Snapshots are not backups. They live on the same disk as the VM. If the disk fails, snapshots are gone too. Use both: snapshots for quick rollback, backups for disaster recovery.
Security Considerations
Your Proxmox host is the single most important machine in your home lab. If it's compromised, every VM and container on it is compromised. Treat it accordingly:
- Change the default web UI port from 8006 if exposing to the internet (though you shouldn't expose it).
- Create a non-root user for daily management. Go to Datacenter → Permissions → Users → Add.
- Enable the firewall. Proxmox has a built-in firewall configurable from the web UI. At minimum, restrict management access to your LAN.
- Keep Proxmox updated. Run
apt update && apt full-upgraderegularly. - Don't expose the web interface to the internet. If you need remote access, use a VPN (like WireGuard) to connect to your home network first.
- Use strong passwords and consider two-factor authentication. Proxmox supports TOTP 2FA out of the box. Enable it under Datacenter → Permissions → Two Factor.
Troubleshooting
Problem: Web interface unreachable after installation. Cause: Incorrect IP configuration during install, or the machine is on a different subnet than your computer. Fix: Connect a monitor and keyboard directly. Check the IP with ip addr show vmbr0. Verify your computer is on the same subnet. Test with ping 192.168.1.50.
Problem: VM boots but gets no network connectivity. Cause: The VM's network interface isn't connected to the bridge, or DHCP isn't available on the bridged network. Fix: Check that the VM's network device is set to bridge vmbr0. Inside the VM, verify the interface is up with ip link. Try a static IP configuration if DHCP isn't working.
Problem: "No valid subscription" error on apt update. Cause: The enterprise repository is enabled but you don't have a subscription key. Fix: Disable the enterprise repo and enable the no-subscription repo as shown in the post-install section above.
Problem: LXC container can't run Docker. Cause: Nesting and keyctl features aren't enabled on the container. Fix: Enable nesting in the container options: Options → Features → check Nesting and keyctl. Restart the container.
Problem: ZFS is using too much RAM. Cause: ZFS uses RAM for its ARC (Adaptive Replacement Cache) and defaults to claiming up to 50% of system RAM. Fix: Limit the ARC size. Add to /etc/modprobe.d/zfs.conf: options zfs zfs_arc_max=2147483648 (2GB limit). Run update-initramfs -u and reboot.
Conclusion
A Proxmox home lab is the best investment you can make in your technical skills. It costs less than a month of cloud hosting, runs on hardware you probably already have, and gives you a safe environment to learn virtualization, networking, containers, and security — all on real infrastructure, not simulators.
Start with a single machine, create a few VMs and containers, and experiment. Break things on purpose. That's what a lab is for. When you're ready to run production services, the skills transfer directly to cloud VPS management.
For next steps, harden your Proxmox host using my Linux hardening guide, run Docker inside an LXC container following my Docker security guide, and set up WireGuard for remote access using my VPN setup tutorial.
Your lab. Your rules. No monthly bill.
Comments
Sign in with GitHub to comment. Threads live in the byteguard-comments repo.