 ← Back
Google Drive gives you 15 GB for free and sells you convenience. In exchange, it scans your files, trains AI on your data, and can lock you out of your own account with no explanation and no appeal. If you have ever wondered what it takes to own your files entirely, Nextcloud is the answer.
This guide is part of our Self-Hosting Series — step-by-step guides for running your own services on a VPS.
Nextcloud is a self-hosted cloud platform that replaces Google Drive, Google Calendar, Google Contacts, and a dozen other SaaS tools -- all running on hardware you control. The catch? Setting it up properly takes more than a quick docker run. Misconfigure the database, skip the caching layer, or ignore PHP tuning, and you end up with something painfully slow.
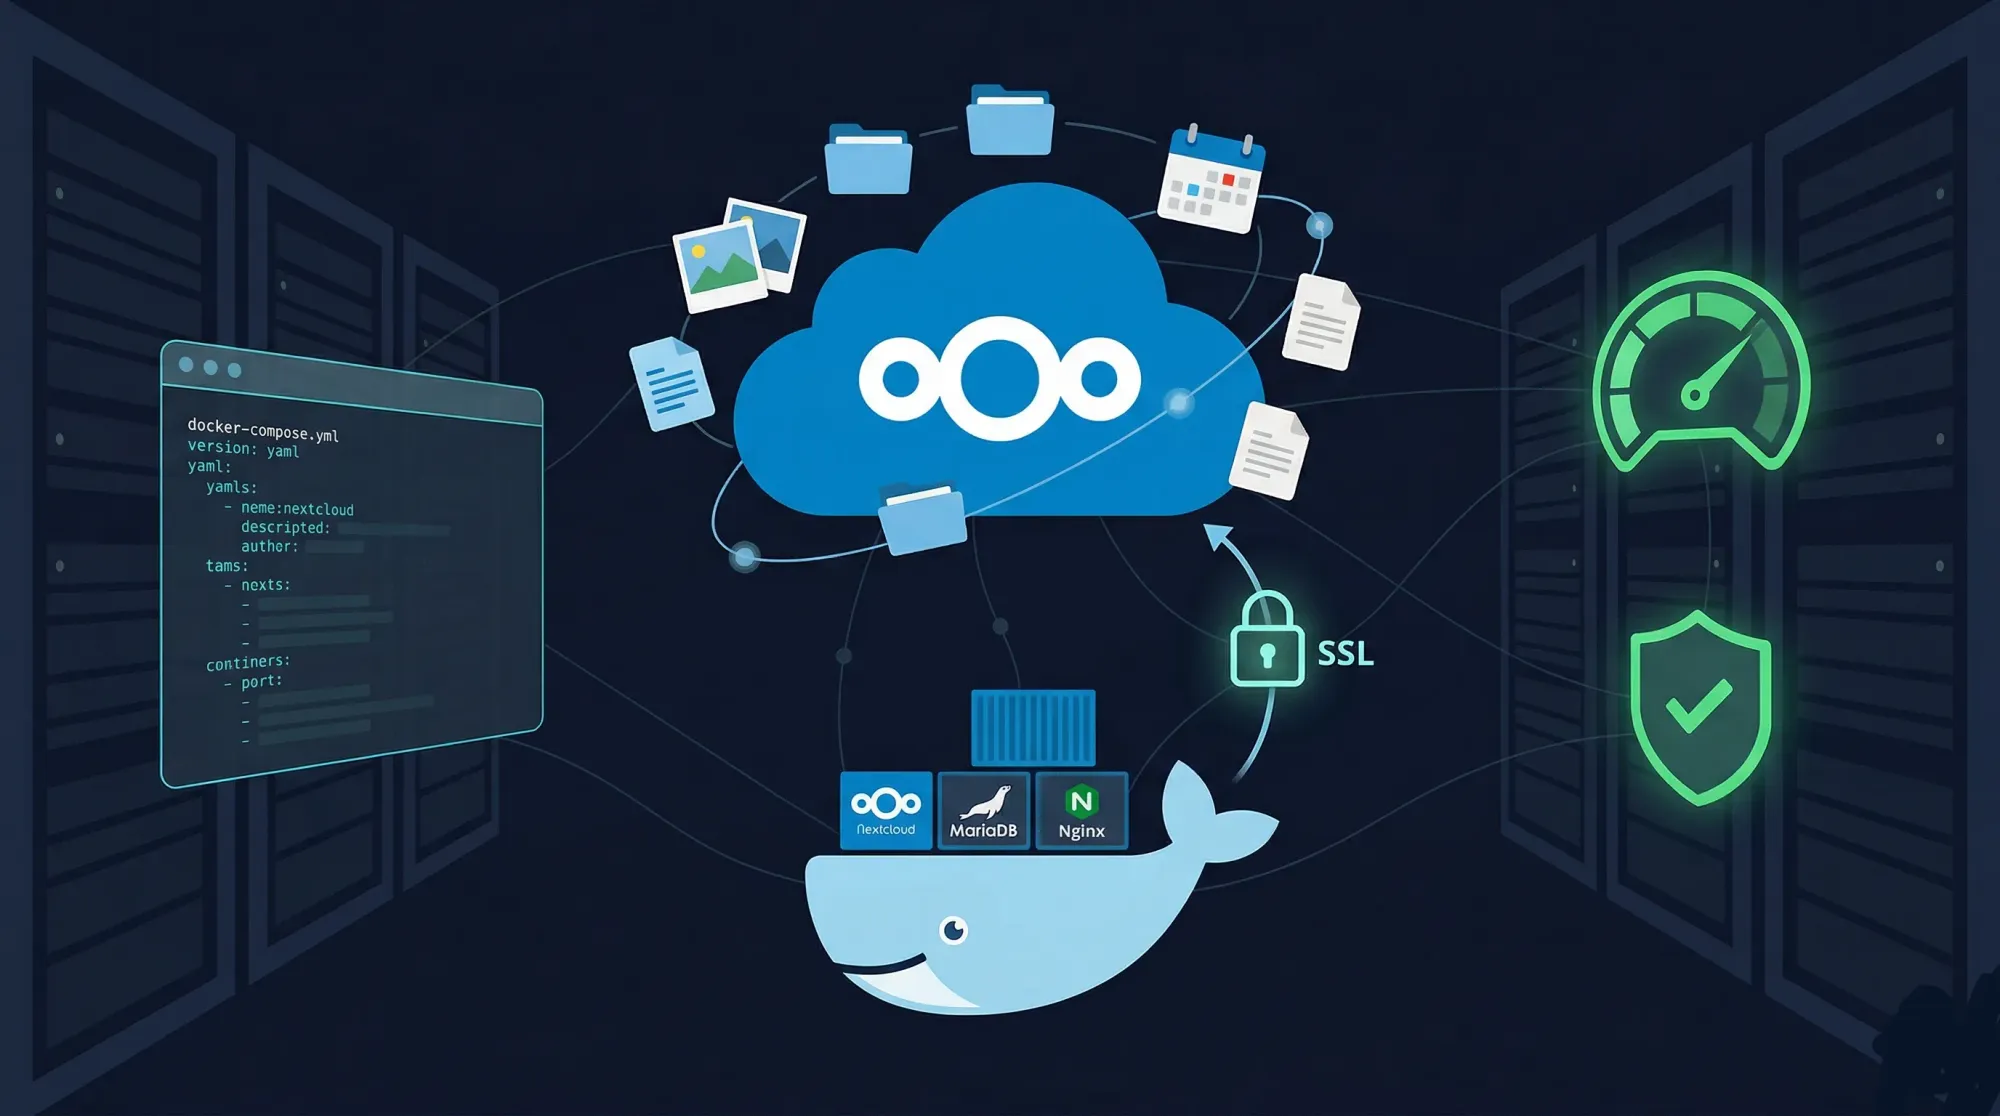
In this guide, I will walk through how to self-host Nextcloud with Docker Compose, backed by MariaDB, fronted by Nginx as a reverse proxy with SSL, and tuned for actual usable performance. By the end, you will have a production-ready Nextcloud instance that you would actually want to use daily.
Prerequisites
- A VPS with at least 2 CPU cores and 4 GB RAM -- Nextcloud with MariaDB and Redis needs room to breathe. I recommend Hetzner's CPX21 or higher. If you do not have a VPS yet, my guide on building a VPS from scratch covers the setup.
- A domain name pointed at your server's IP (e.g.,
cloud.yourdomain.com) - Docker and Docker Compose installed (Docker security guide covers secure installation)
- Ports 80 and 443 open on your firewall
- SSH access to your server
Setting Up the Project Structure
Start by creating a directory for the Nextcloud stack:
mkdir -p /opt/nextcloud && cd /opt/nextcloud
Create an environment file to store sensitive values. Never hardcode credentials in your compose file.
touch .env
chmod 600 .env
Add the following to .env:
# /opt/nextcloud/.env
MYSQL_ROOT_PASSWORD=<GENERATE_A_STRONG_PASSWORD>
MYSQL_PASSWORD=<GENERATE_ANOTHER_STRONG_PASSWORD>
MYSQL_DATABASE=nextcloud
MYSQL_USER=nextcloud
NEXTCLOUD_ADMIN_USER=admin
NEXTCLOUD_ADMIN_PASSWORD=<YOUR_ADMIN_PASSWORD>
NEXTCLOUD_TRUSTED_DOMAINS=cloud.<YOUR_DOMAIN>
Generate strong passwords with:
openssl rand -base64 32
The Docker Compose Configuration
Here is the complete docker-compose.yml with Nextcloud, MariaDB, and Redis:
# /opt/nextcloud/docker-compose.yml
version: "3.8"

services:
  db:
    image: mariadb:11
    container_name: nextcloud-db
    restart: unless-stopped
    command: >
      --transaction-isolation=READ-COMMITTED
      --log-bin=binlog
      --binlog-format=ROW
      --innodb-file-per-table=1
      --innodb-buffer-pool-size=256M
    volumes:
      - db_data:/var/lib/mysql
    environment:
      MYSQL_ROOT_PASSWORD: ${MYSQL_ROOT_PASSWORD}
      MYSQL_PASSWORD: ${MYSQL_PASSWORD}
      MYSQL_DATABASE: ${MYSQL_DATABASE}
      MYSQL_USER: ${MYSQL_USER}
    networks:
      - nextcloud_net
    healthcheck:
      test: ["CMD", "healthcheck.sh", "--connect", "--innodb_initialized"]
      interval: 10s
      timeout: 5s
      retries: 5

  redis:
    image: redis:7-alpine
    container_name: nextcloud-redis
    restart: unless-stopped
    command: redis-server --requirepass redis_secret_password
    volumes:
      - redis_data:/data
    networks:
      - nextcloud_net
    healthcheck:
      test: ["CMD", "redis-cli", "-a", "redis_secret_password", "ping"]
      interval: 10s
      timeout: 5s
      retries: 5

  app:
    image: nextcloud:29-apache
    container_name: nextcloud-app
    restart: unless-stopped
    depends_on:
      db:
        condition: service_healthy
      redis:
        condition: service_healthy
    volumes:
      - nextcloud_data:/var/www/html
      - ./custom-php.ini:/usr/local/etc/php/conf.d/zzz-custom.ini:ro
    environment:
      MYSQL_HOST: db
      MYSQL_DATABASE: ${MYSQL_DATABASE}
      MYSQL_USER: ${MYSQL_USER}
      MYSQL_PASSWORD: ${MYSQL_PASSWORD}
      NEXTCLOUD_ADMIN_USER: ${NEXTCLOUD_ADMIN_USER}
      NEXTCLOUD_ADMIN_PASSWORD: ${NEXTCLOUD_ADMIN_PASSWORD}
      NEXTCLOUD_TRUSTED_DOMAINS: ${NEXTCLOUD_TRUSTED_DOMAINS}
      REDIS_HOST: redis
      REDIS_HOST_PASSWORD: redis_secret_password
      APACHE_DISABLE_REWRITE_IP: 1
      TRUSTED_PROXIES: 172.0.0.0/8
      OVERWRITEPROTOCOL: https
      OVERWRITECLIURL: https://${NEXTCLOUD_TRUSTED_DOMAINS}
    networks:
      - nextcloud_net
    ports:
      - "127.0.0.1:8080:80"

  cron:
    image: nextcloud:29-apache
    container_name: nextcloud-cron
    restart: unless-stopped
    depends_on:
      - app
    volumes:
      - nextcloud_data:/var/www/html
    entrypoint: /cron.sh
    networks:
      - nextcloud_net

volumes:
  db_data:
  redis_data:
  nextcloud_data:

networks:
  nextcloud_net:
    driver: bridge
Let me break down the key decisions:
MariaDB over SQLite: Nextcloud supports SQLite, but it falls apart with more than one user or any concurrent file operations. MariaDB is the recommended production database. The --transaction-isolation=READ-COMMITTED flag is specifically required by Nextcloud.
Redis for caching and locking: Without Redis, Nextcloud uses the database for file locking and caching, which kills performance. Redis handles both file locking (preventing conflicts during sync) and memory caching.
Dedicated cron container: Nextcloud needs background jobs for file scanning, notifications, and cleanup. Running a separate container with /cron.sh is more reliable than AJAX-based cron, which depends on users visiting the web interface.
Port binding to 127.0.0.1: The 127.0.0.1:8080:80 binding ensures Nextcloud is only accessible through the reverse proxy, not directly on port 8080 from the internet.
PHP Performance Tuning
Create the custom PHP configuration file referenced in the compose file:
; /opt/nextcloud/custom-php.ini
; Memory and upload limits
memory_limit = 1024M
upload_max_filesize = 16G
post_max_size = 16G
max_execution_time = 3600
max_input_time = 3600

; OPcache settings (critical for performance)
opcache.enable = 1
opcache.interned_strings_buffer = 32
opcache.max_accelerated_files = 10000
opcache.memory_consumption = 256
opcache.save_comments = 1
opcache.revalidate_freq = 60
opcache.jit = 1255
opcache.jit_buffer_size = 128M

; Output buffering
output_buffering = Off
Why this matters: The default PHP memory_limit of 128 MB causes Nextcloud to choke on file previews and large uploads. OPcache is the single biggest performance improvement you can make -- it caches compiled PHP code in memory so it does not need to be recompiled on every request. The JIT compiler (available in PHP 8+) adds another layer of optimization.
The upload_max_filesize of 16 GB lets you upload large files. Adjust this based on your storage capacity.
Configuring the Nginx Reverse Proxy
If you are using Nginx Proxy Manager (which I compared against Traefik and Caddy in my reverse proxy comparison), you can create a new proxy host through the UI pointing to http://127.0.0.1:8080 with SSL enabled.
For a manual Nginx configuration:
# /etc/nginx/sites-available/nextcloud.conf

upstream nextcloud_backend {
    server 127.0.0.1:8080;
    keepalive 64;
}

server {
    listen 80;
    server_name cloud.<YOUR_DOMAIN>;
    return 301 https://$server_name$request_uri;
}

server {
    listen 443 ssl http2;
    server_name cloud.<YOUR_DOMAIN>;

    # SSL certificates (use certbot or your preferred method)
    ssl_certificate /etc/letsencrypt/live/cloud.<YOUR_DOMAIN>/fullchain.pem;
    ssl_certificate_key /etc/letsencrypt/live/cloud.<YOUR_DOMAIN>/privkey.pem;

    # SSL hardening
    ssl_protocols TLSv1.2 TLSv1.3;
    ssl_ciphers HIGH:!aNULL:!MD5;
    ssl_prefer_server_ciphers off;

    # Upload size -- must match PHP settings
    client_max_body_size 16G;
    client_body_buffer_size 512k;

    # Timeouts for large file operations
    proxy_connect_timeout 3600;
    proxy_send_timeout 3600;
    proxy_read_timeout 3600;
    send_timeout 3600;

    # Security headers
    add_header Strict-Transport-Security "max-age=31536000; includeSubDomains" always;
    add_header X-Content-Type-Options "nosniff" always;
    add_header X-Frame-Options "SAMEORIGIN" always;
    add_header Referrer-Policy "strict-origin-when-cross-origin" always;

    # CalDAV/CardDAV discovery
    location /.well-known/carddav {
        return 301 $scheme://$host/remote.php/dav;
    }
    location /.well-known/caldav {
        return 301 $scheme://$host/remote.php/dav;
    }
    location /.well-known/webfinger {
        return 301 $scheme://$host/index.php/.well-known/webfinger;
    }
    location /.well-known/nodeinfo {
        return 301 $scheme://$host/index.php/.well-known/nodeinfo;
    }

    location / {
        proxy_pass http://nextcloud_backend;
        proxy_set_header Host $host;
        proxy_set_header X-Real-IP $remote_addr;
        proxy_set_header X-Forwarded-For $proxy_add_x_forwarded_for;
        proxy_set_header X-Forwarded-Proto $scheme;
        proxy_set_header X-Forwarded-Host $host;
        proxy_set_header X-Forwarded-Port $server_port;

        # WebSocket support (for Notify Push)
        proxy_http_version 1.1;
        proxy_set_header Upgrade $http_upgrade;
        proxy_set_header Connection "upgrade";
    }
}
Enable the site and obtain an SSL certificate:
ln -s /etc/nginx/sites-available/nextcloud.conf /etc/nginx/sites-enabled/
nginx -t && systemctl reload nginx

# Get SSL certificate with certbot
certbot --nginx -d cloud.<YOUR_DOMAIN>
Note: The.well-knownredirects are essential for CalDAV and CardDAV discovery. Without them, calendar and contact sync will fail on mobile devices. Theclient_max_body_sizemust match your PHPupload_max_filesizesetting, or Nginx will reject large uploads before PHP even sees them.
Launching Nextcloud
Bring up the stack:
cd /opt/nextcloud
docker compose up -d
Watch the logs to verify everything starts cleanly:
docker compose logs -f app
You should see Nextcloud's installation routine run automatically (creating the admin user and configuring the database). This takes 30-60 seconds on first launch.
Once the logs settle, visit https://cloud.<YOUR_DOMAIN> in your browser. You should see the Nextcloud login page. Sign in with the admin credentials from your .env file.
Post-Installation Configuration
Verify Redis Caching
After logging in as admin, go to Administration Settings > Overview. Check that there are no warnings about the caching backend. You can also verify Redis is connected:
docker exec nextcloud-redis redis-cli -a redis_secret_password INFO clients
You should see at least one connected client (the Nextcloud app).
Configure the Nextcloud Config File
Some settings need to be added directly to Nextcloud's config.php. Access it through the Docker volume:
docker exec -it nextcloud-app cat /var/www/html/config/config.php
If you need to edit it:
docker exec -it nextcloud-app vi /var/www/html/config/config.php
Verify these settings are present (most should be set automatically by the environment variables):
'trusted_domains' =>
  array (
    0 => 'cloud.<YOUR_DOMAIN>',
  ),
'overwrite.cli.url' => 'https://cloud.<YOUR_DOMAIN>',
'overwriteprotocol' => 'https',
'memcache.local' => '\\OC\\Memcache\\APCu',
'memcache.distributed' => '\\OC\\Memcache\\Redis',
'memcache.locking' => '\\OC\\Memcache\\Redis',
'redis' =>
  array (
    'host' => 'redis',
    'password' => 'redis_secret_password',
    'port' => 6379,
  ),
'default_phone_region' => 'US',
'maintenance_window_start' => 1,
The maintenance_window_start tells Nextcloud when to run heavy background tasks (value is UTC hour, so 1 means 1:00 AM UTC).
Set Background Jobs to Cron
Go to Administration Settings > Basic settings and set the background jobs method to Cron. Since we have a dedicated cron container, this is already handled -- but you need to tell Nextcloud to expect it.
Verify cron is running:
docker exec nextcloud-app php -f /var/www/html/cron.php
docker logs nextcloud-cron --tail 5
Essential Apps to Enable
Nextcloud has a large app ecosystem. Here are the ones I consider essential for a production setup:
# Install apps via the command line (faster than the web UI)
docker exec -u www-data nextcloud-app php occ app:install calendar
docker exec -u www-data nextcloud-app php occ app:install contacts
docker exec -u www-data nextcloud-app php occ app:install tasks
docker exec -u www-data nextcloud-app php occ app:install notes
docker exec -u www-data nextcloud-app php occ app:install deck
docker exec -u www-data nextcloud-app php occ app:install previewgenerator
| App | Replaces | Why Install It |
|---|---|---|
| Calendar | Google Calendar | CalDAV-based, syncs with any calendar app |
| Contacts | Google Contacts | CardDAV-based, syncs with phone contacts |
| Tasks | Google Tasks, Todoist | Integrates with Calendar |
| Notes | Google Keep | Markdown support, folder organization |
| Deck | Trello | Kanban boards with Calendar integration |
| Preview Generator | -- | Pre-generates image thumbnails for faster browsing |
After installing Preview Generator, run the initial generation:
docker exec -u www-data nextcloud-app php occ preview:generate-all
This takes a while if you have existing files. After the initial run, the cron job handles new files automatically.
Security Considerations
Brute force protection is built into Nextcloud and enabled by default. It rate-limits login attempts per IP. Verify it is active under Administration Settings > Security.
Two-factor authentication -- enable it immediately for the admin account. Go to Personal Settings > Security and set up TOTP (works with any authenticator app). For other users, you can enforce 2FA under Administration Settings > Security.
File encryption -- Nextcloud supports server-side encryption, but think carefully before enabling it. It protects files at rest (useful if someone steals your disk), but it adds CPU overhead, makes disaster recovery harder, and does not protect against a compromised server (since the keys are stored on the same server). For most self-hosting scenarios, full-disk encryption (LUKS) at the OS level is a better approach.
Expose only what you need. The Docker Compose file already binds Nextcloud to 127.0.0.1:8080, so it is only accessible through the reverse proxy. Make sure your firewall blocks direct access to port 8080 from outside.
Keep it updated. Nextcloud publishes security advisories regularly. Check for updates in the admin panel or via CLI:
docker exec -u www-data nextcloud-app php occ update:check
To upgrade, update the image tag in docker-compose.yml and recreate the container:
docker compose pull app cron
docker compose up -d app cron
Warning: Always back up your database and data volume before upgrading. Major version upgrades (e.g., 28 to 29) sometimes require manual migration steps.
Troubleshooting
Problem: "Access through untrusted domain" error when visiting the site. Cause: The domain you are accessing is not listed in Nextcloud's trusted_domains array. Fix: Edit config.php inside the container and add your domain to the trusted_domains array. Or set the NEXTCLOUD_TRUSTED_DOMAINS environment variable and recreate the container.
Problem: File uploads fail for files larger than a few megabytes. Cause: Either Nginx's client_max_body_size, PHP's upload_max_filesize, or PHP's post_max_size is too low. Fix: All three values must match. Check your custom-php.ini and your Nginx configuration. After changes, restart both Nginx and the Nextcloud container.
Problem: Nextcloud dashboard shows "No memory cache configured" warning. Cause: Redis connection failed or the caching configuration is missing from config.php. Fix: Verify Redis is running (docker logs nextcloud-redis). Check that the Redis password in config.php matches the one in docker-compose.yml. Test connectivity: docker exec nextcloud-app apt-get update && apt-get install -y redis-tools && redis-cli -h redis -a redis_secret_password ping.
Problem: Calendar and contact sync fails on mobile devices. Cause: Missing .well-known redirects for CalDAV and CardDAV discovery. Fix: Add the .well-known location blocks to your Nginx configuration (shown in the reverse proxy section above). The URLs /.well-known/carddav and /.well-known/caldav must redirect to /remote.php/dav.
Problem: Nextcloud is extremely slow, pages take 5-10 seconds to load. Cause: OPcache is not enabled, or the cron container is not running (causing background jobs to pile up). Fix: Verify custom-php.ini is mounted correctly: docker exec nextcloud-app php -i | grep opcache.enable. It should show opcache.enable => On. Also verify the cron container is running: docker compose ps cron.
Conclusion
You now have a fully functional, performance-tuned Nextcloud instance running on Docker with MariaDB for the database, Redis for caching, and Nginx handling SSL termination. This setup replaces Google Drive, Calendar, Contacts, and several other services -- all on infrastructure you own.
The key performance wins: Redis for caching and file locking, OPcache with JIT enabled, and a dedicated cron container for background jobs. Without these three, Nextcloud feels sluggish. With them, it is genuinely pleasant to use.
For next steps, consider setting up automated backups (a pg_dump equivalent for MariaDB is mariadb-dump), connecting the Nextcloud desktop and mobile sync clients, and exploring the app ecosystem.
If you are choosing a reverse proxy for your setup, I compared the top three options in my Nginx Proxy Manager vs Traefik vs Caddy post. And if you need a reliable VPS to host Nextcloud, I run all my projects on Hetzner -- great performance, fair pricing, and EU-based data centers. Check out Hetzner's cloud plans.


Comments
Sign in with GitHub to comment. Threads live in the byteguard-comments repo.