 ← Back
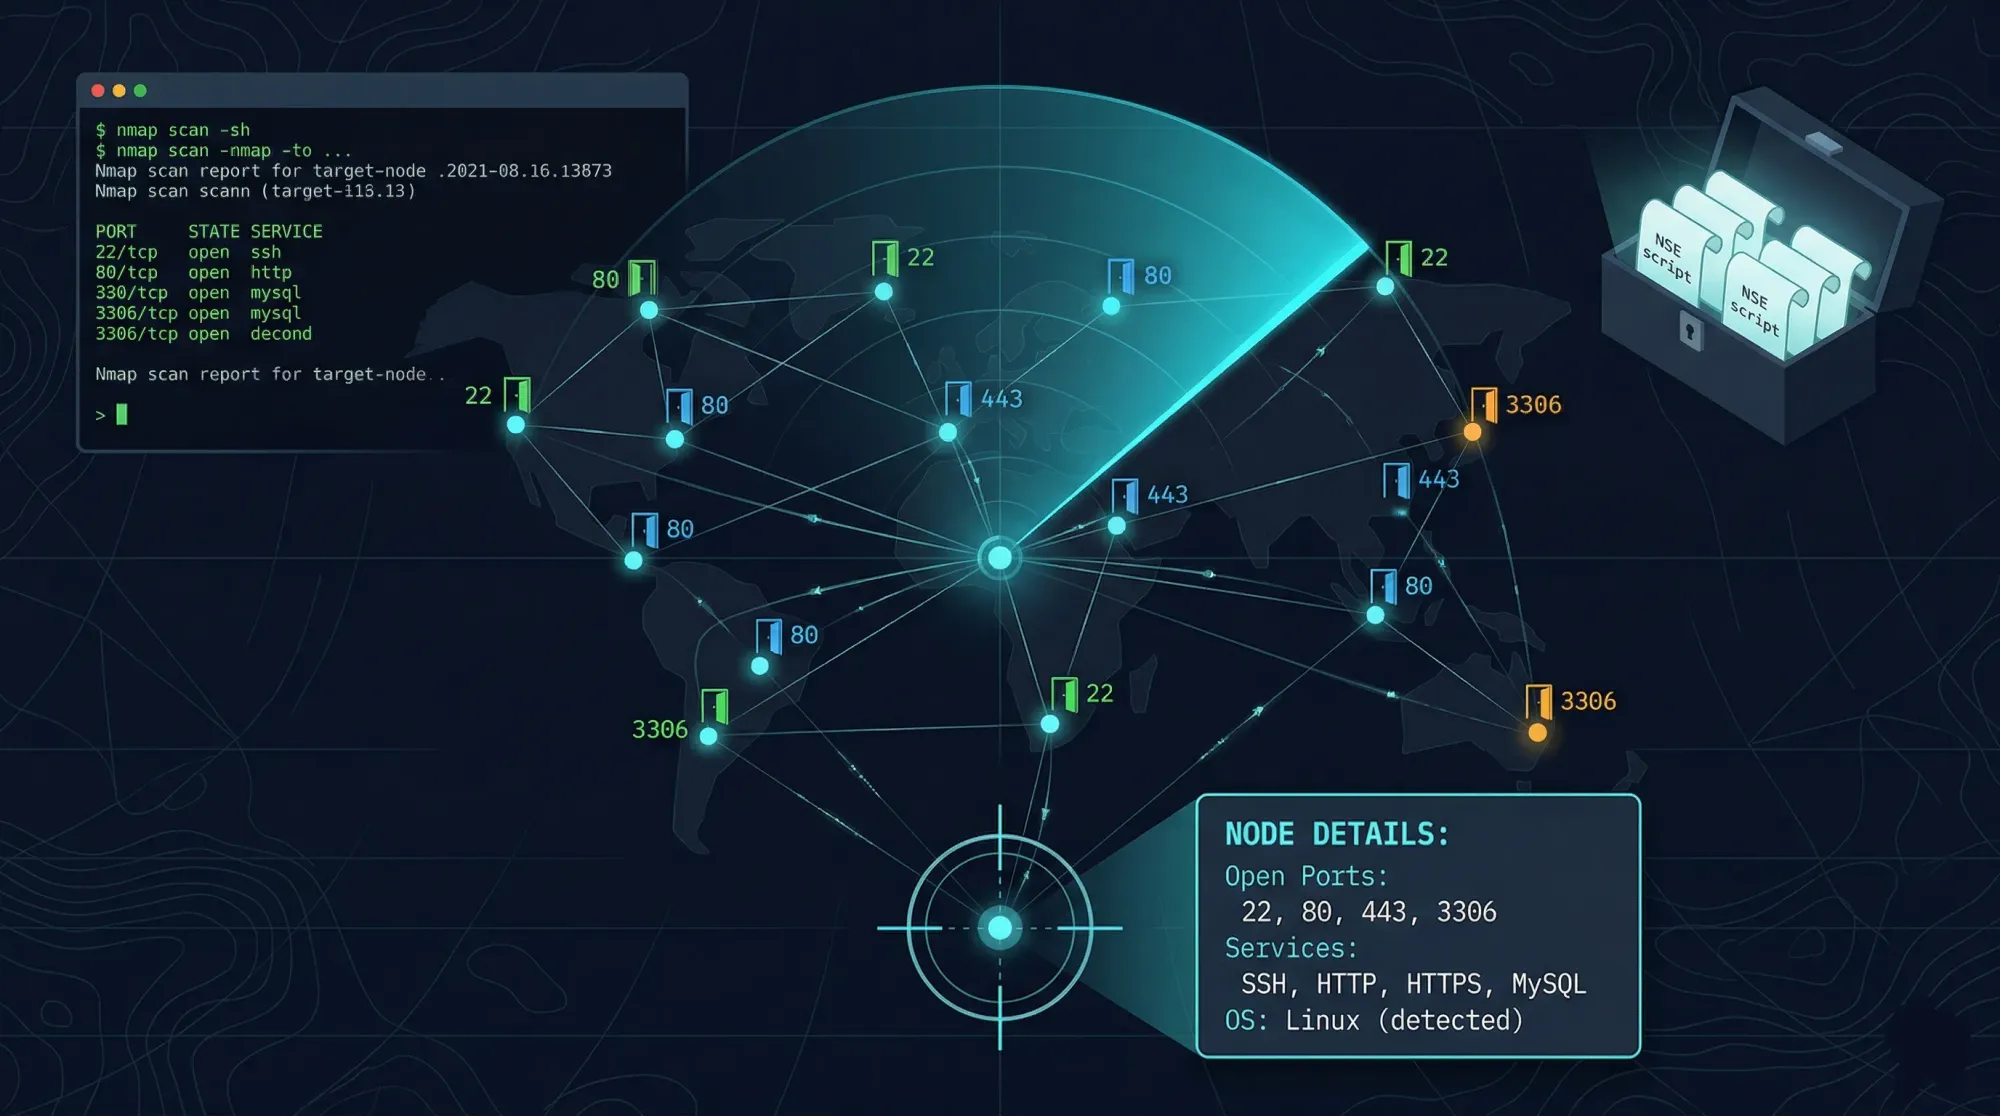
Every time I set up a new server, the first thing I do before hardening anything is figure out what's actually exposed. Open ports I forgot about, services running on default configs, legacy daemons nobody disabled — that's the stuff attackers find first. Nmap (Network Mapper) is the tool that answers the question: "What does my network look like from the outside?"
This guide is part of our Security Tools Series — hands-on guides for the tools every security-minded developer needs.
This nmap tutorial for beginners walks you through everything from installation to advanced NSE scripts. By the end, you'll know how to scan your own infrastructure, interpret the results, and use that information to lock things down.
Legal Warning: Only scan networks and systems you own or have explicit written permission to test. Unauthorized scanning is illegal in most jurisdictions and can get you fired, fined, or prosecuted. This entire tutorial assumes you're scanning your own lab or have a signed authorization.
Prerequisites
- A Linux machine (Ubuntu/Debian used in examples) or macOS
- Root/sudo access (many scan types require it)
- A target system you own or have permission to scan (a second VM, your VPS, etc.)
- Basic comfort with the terminal
- If you need a VPS to practice on, I covered setting one up in my Hetzner VPS build guide
Installing Nmap
Nmap is available in every major package manager. Here's how to get it on common systems.
Ubuntu/Debian:
sudo apt update && sudo apt install nmap -y
Fedora/RHEL:
sudo dnf install nmap -y
macOS (Homebrew):
brew install nmap
Arch Linux:
sudo pacman -S nmap
Verify the installation:
nmap --version
You should see output showing Nmap version 7.9x or later, along with the compiled libraries (Npcap/libpcap, OpenSSL, etc.). If nmap isn't found, make sure /usr/bin or /usr/local/bin is in your $PATH.
Understanding How Nmap Scanning Works
Before firing off commands, it helps to understand what Nmap actually does under the hood.
When you scan a target, Nmap sends carefully crafted packets to ports on the target machine and analyzes the responses. Based on how the target replies (or doesn't), Nmap determines whether a port is:
- Open — A service is actively listening and accepting connections.
- Closed — The port is reachable but no service is listening. The host responds with a RST packet.
- Filtered — Nmap can't determine the state because a firewall is silently dropping packets. No response comes back, or an ICMP unreachable message does.
This distinction matters. An open port is an attack surface. A filtered port means a firewall is doing its job. A closed port means the service isn't running but the port is reachable — which still tells an attacker something about the system.
Basic Nmap Scans for Beginners
Let's start with the fundamentals. I'll use 192.168.1.100 as an example target — replace it with your own IP.
Simple Host Discovery (Ping Scan)
nmap -sn 192.168.1.0/24
This sends ICMP echo requests, TCP SYN to port 443, TCP ACK to port 80, and ICMP timestamps to every host in the subnet. It tells you which hosts are alive without scanning any ports. Useful for mapping your local network.
Expected output:
Nmap scan report for 192.168.1.1
Host is up (0.0023s latency).
Nmap scan report for 192.168.1.100
Host is up (0.0015s latency).
Nmap done: 256 IP addresses (2 hosts up) scanned in 3.42 seconds
Default Port Scan
nmap 192.168.1.100
Without any flags, Nmap scans the top 1,000 most common TCP ports using a SYN scan (if run as root) or a connect scan (as a regular user). This is the scan most beginners start with.
Scanning Specific Ports
# Single port
nmap -p 22 192.168.1.100

# Port range
nmap -p 1-1000 192.168.1.100

# Multiple specific ports
nmap -p 22,80,443,8080 192.168.1.100

# All 65535 ports
nmap -p- 192.168.1.100
The -p- flag is important. The default 1,000-port scan misses services running on non-standard ports. If you're auditing a server, always run a full port scan at least once. It takes longer (a few minutes depending on the network), but it catches things like databases on port 27017, admin panels on port 8443, or forgotten dev servers on high ports.
TCP SYN Scan (Stealth Scan)
sudo nmap -sS 192.168.1.100
The SYN scan sends a SYN packet and waits for a SYN-ACK (open) or RST (closed). It never completes the TCP handshake, which is why it's called "half-open" or "stealth" scanning. This is the default when running as root and is the fastest reliable scan type.
Note: Despite the name "stealth scan," modern intrusion detection systems (IDS) detect SYN scans easily. Don't rely on this for actual stealth — it's called that for historical reasons.
UDP Scan
sudo nmap -sU --top-ports 100 192.168.1.100
UDP scanning is painfully slow because UDP is connectionless — Nmap has to wait for timeouts to determine if a port is filtered. I typically limit it to the top 100 ports. Services like DNS (53), SNMP (161), DHCP (67/68), and NTP (123) use UDP, so skipping UDP scanning entirely means you're missing real attack surface.
Nmap Service and Version Detection
Knowing a port is open is step one. Knowing what's running on it is where things get useful.
nmap -sV 192.168.1.100
The -sV flag probes open ports to determine the service name and version. Instead of just seeing "port 22 open," you'll see something like:
PORT    STATE SERVICE  VERSION
22/tcp  open  ssh      OpenSSH 9.6p1 Ubuntu 3ubuntu13
80/tcp  open  http     nginx 1.24.0
443/tcp open  ssl/http nginx 1.24.0
This is critical for security auditing. If you see OpenSSH 7.2 running, you know it's vulnerable to several CVEs. If you see Apache 2.4.49, that's the path traversal vulnerability (CVE-2021-41773). Version detection turns a port list into an actionable vulnerability report.
You can control the intensity of version detection:
# Light probe (faster, less accurate)
nmap -sV --version-intensity 2 192.168.1.100

# Aggressive probe (slower, more accurate)
nmap -sV --version-intensity 9 192.168.1.100
Nmap OS Detection
sudo nmap -O 192.168.1.100
OS detection uses TCP/IP stack fingerprinting — analyzing things like TCP window sizes, TTL values, and how the target handles specific packet flags. It requires at least one open and one closed port to work reliably.
For a more aggressive and comprehensive scan that combines OS detection, version detection, script scanning, and traceroute:
sudo nmap -A 192.168.1.100
The -A flag is the "aggressive" scan. I use it when auditing my own servers because it gives the most complete picture in one command. Don't use it on networks you're trying to be quiet on — it's noisy.
Nmap NSE Scripts — The Real Power
The Nmap Scripting Engine (NSE) is what separates Nmap from a basic port scanner. NSE ships with hundreds of scripts for vulnerability detection, brute forcing, service enumeration, and more.
Running Default Scripts
nmap -sC 192.168.1.100
The -sC flag runs the "default" category of scripts — things like grabbing SSH host keys, checking HTTP titles, enumerating SSL certificates. These are considered safe and non-intrusive.
Running Specific Scripts
# Check for a specific vulnerability
nmap --script vuln 192.168.1.100

# Run a specific script
nmap --script http-headers 192.168.1.100

# Run multiple scripts
nmap --script "http-headers,http-title,ssl-enum-ciphers" -p 80,443 192.168.1.100
Useful NSE Scripts I Run Regularly
Check HTTP security headers (pairs well with my security headers guide):
nmap --script http-security-headers -p 80,443 <YOUR_SERVER_IP>
Enumerate SSL/TLS ciphers:
nmap --script ssl-enum-ciphers -p 443 <YOUR_SERVER_IP>
This reveals weak cipher suites, outdated TLS versions, and certificate issues. If you see TLSv1.0 or TLSv1.1 in the output, you need to fix your web server configuration.
Check for common vulnerabilities:
nmap --script vulners -sV -p 22,80,443 <YOUR_SERVER_IP>
The vulners script cross-references detected service versions against the Vulners database and reports known CVEs. It's not a replacement for a proper vulnerability scanner, but it's a fast first check.
Brute-force SSH (on your own systems only):
nmap --script ssh-brute -p 22 <YOUR_SERVER_IP>
This tests for weak SSH passwords. If it succeeds, you need to disable password authentication immediately — I covered how in my SSH hardening guide.
Finding All Available Scripts
ls /usr/share/nmap/scripts/ | wc -l
On a current install, you'll see 600+ scripts. Browse them by category:
ls /usr/share/nmap/scripts/ | grep http
ls /usr/share/nmap/scripts/ | grep ssh
ls /usr/share/nmap/scripts/ | grep vuln
Nmap Output Formats
Scan results are useless if you can't save and review them. Nmap supports multiple output formats.
# Normal text output
nmap -oN scan_results.txt 192.168.1.100

# XML output (for parsing with other tools)
nmap -oX scan_results.xml 192.168.1.100

# Grepable output (one host per line, easy to pipe)
nmap -oG scan_results.gnmap 192.168.1.100

# All formats at once
nmap -oA scan_results 192.168.1.100
I always use -oA for any serious scan. The XML output can be imported into tools like Metasploit or parsed with scripts. The grepable format is perfect for quick filtering:
# Find all hosts with port 22 open
grep "22/open" scan_results.gnmap
Real-World Nmap Scanning Examples
Here are the scans I actually run on my own infrastructure.
Full Audit of a Single Server
sudo nmap -sS -sV -sC -O -p- -oA full_audit <YOUR_SERVER_IP>
This combines a SYN scan, version detection, default scripts, and OS detection across all 65,535 ports. Takes 5-15 minutes depending on the network. I run this after every major configuration change.
Quick Check After Firewall Changes
nmap -sS -p 22,80,443 <YOUR_SERVER_IP>
After modifying firewall rules (iptables, ufw, etc.), I run a quick scan to verify only the intended ports are open. If you've been following my VPS hardening guide, you should see only SSH (22), HTTP (80), and HTTPS (443).
Network Sweep for Rogue Devices
sudo nmap -sn -oG alive_hosts.gnmap 192.168.1.0/24
Run this on your home or office network periodically. Compare the output over time. New hosts appearing that you don't recognize deserve investigation.
Scanning for a Specific Vulnerability
nmap --script smb-vuln-ms17-010 -p 445 192.168.1.0/24
This checks an entire subnet for EternalBlue (the vulnerability behind WannaCry). Replace with whatever CVE you're investigating. The OWASP Top 10 I covered in my OWASP guide often ties back to the kind of service misconfigurations Nmap reveals.
Nmap Scan Timing and Performance
Nmap has six timing templates, from T0 (paranoid) to T5 (insane):
# Slow and careful (IDS evasion)
nmap -T2 192.168.1.100

# Default (balanced)
nmap -T3 192.168.1.100

# Aggressive (fast, might miss things on slow networks)
nmap -T4 192.168.1.100
For scanning your own servers, T4 is the sweet spot — fast enough to not waste your time, reliable enough to not miss open ports. I only use T2 or lower when testing IDS detection capabilities on my own network.
You can also control parallelism directly:
# Scan with minimum 1000 packets per second
nmap --min-rate 1000 -p- 192.168.1.100
The --min-rate flag guarantees a minimum packet rate. This can dramatically speed up full port scans.
Security Considerations
Nmap is a double-edged tool. Everything in this nmap tutorial can be used offensively or defensively. Here's how to stay on the right side:
- Document your scope. Before scanning, write down exactly what you're authorized to scan. Keep this documentation.
- Never scan production systems during peak hours unless you've tested the impact. Aggressive scans can crash fragile services or trigger rate-limiting that affects real users.
- Monitor your own systems for scans. Tools like Fail2ban (covered in my Fail2ban guide) and Suricata can alert you when someone scans your infrastructure.
- Keep Nmap updated. New NSE scripts and fingerprints are added regularly. An outdated Nmap misses things.
- Treat scan results as sensitive data. A full scan of your infrastructure is a roadmap for attackers. Store results securely and don't post them publicly.
Troubleshooting Common Nmap Issues
Problem: Nmap reports all ports as "filtered." Cause: A firewall (host-based or network) is dropping all probes. Cloud providers like AWS and Azure have security groups that block by default. Fix: Check your firewall rules (sudo ufw status or sudo iptables -L -n). If scanning a cloud instance, verify the security group allows inbound from your scanning IP.
Problem: OS detection returns "No exact OS matches." Cause: OS fingerprinting needs at least one open and one closed port. If every port is either open or filtered, it can't get a reliable fingerprint. Fix: Run a full port scan first (-p-) to find at least one closed port, or accept that OS detection won't work behind strict firewalls.
Problem: Scans are extremely slow. Cause: Network congestion, aggressive firewall rate-limiting, or scanning too many ports with version detection enabled. Fix: Use -T4 for faster timing. Split large scans into phases — do a quick port discovery first (-sS -p-), then run -sV only on open ports.
Problem: "Nmap requires root privileges for this scan type." Cause: SYN scans, OS detection, and UDP scans require raw socket access, which needs root. Fix: Use sudo before the command. Alternatively, use -sT (TCP connect scan), which works without root but is slower and more detectable.
Problem: NSE scripts are not found or fail to load. Cause: Script database is outdated or scripts weren't installed. Fix: Update the script database with sudo nmap --script-updatedb. On minimal installs, you may need to install nmap-scripts separately (sudo apt install nmap-common).
Conclusion
Nmap is one of those tools that scales with your skill. You can start with nmap <target> and get useful results, or go deep with NSE scripts and custom timing to audit entire networks. The key is understanding what each scan type does and when to use it.
If you're building out your security toolkit, start with the scans in this guide on your own infrastructure. Pair the results with the hardening steps in my VPS hardening guide and SSH hardening guide to close whatever Nmap finds.
The best defense starts with knowing what's exposed. Nmap tells you exactly that.
Comments
Sign in with GitHub to comment. Threads live in the byteguard-comments repo.